How to Mix HCG

How to Mix HCG

Plenty of people are skeptical when it comes to HCG diet plans, but the plans appear to be effective when provided to people in the right doses. Whatever the case, people know to consult with medical professionals before making drastic changes to their diet or lifestyle.

Proponents of the plan say that it’s safe and effective at least in the short term. It can be confusing, though, for people jumping into the HCG diet plan for the first time.

For best results, it’s important to learn how to mix HCG properly. Consider taking a quick look at some guidance on the topic below.

How to Mix HCG: A Quick Look

Properly mixing HCG is the foundation for achieving your desired results. There are a few ways to do it, too. You can try to find a clinic in your area, or you can mix the substances yourself using HCG mixing kits.

If you’re set on doing it yourself, you’ll need some HCG weight loss supplies to get started. You’ll need HCG, bacteriostatic water, alcohol prep pads, sterile capped glass vials, large syringes, and needles.

It’s important to keep your working area as clean as possible. Also, wash your hands thoroughly and dry them with paper towels.

HCG Mixing Steps

First, lay out all the materials for your HCG diet in a sterile environment. Next, open a glass ampoule of HCG powder by first cleaning its top, and then snap it away from the body. Clean the rubber top of the bacteriostatic water and a separate sterile glass vial with an alcohol pad.

There are many ways to mix the HCG. We suggest following the HCG Mixing Directions and HCG Dosage Chart on this page. Do not shake the contents, as they will mix on their own.

It’s important to note that, before any injection, you need to prepare accordingly and let the air bubbles rise to the top of the syringe. Also push the stopper until all air is out of the syringe.

These are the basic steps for prepping your mixture. It’s important to follow up with the dosage for your specific plan.

HCG Mixture Dosage

HCG mixing amounts can vary for each person. More is not always better. Some people do better on the lower dosages, even larger people. These are typically individualized plans, so you need to alter the dosages based on the recommendations you received or your own feeling of hunger. Here’s a look at the common numbers for daily dosages of HCG:

  • 125 iu
  • 150 iu
  • 175 iu
  • 200 iu

The mixing amounts of Bacteriostatic water will depend on the ampoule size of HCG you have. The daily dosages also determine how many days of injection yield they’ll provide.

Mixing HCG

While it’s relatively easy to learn how to mix HCG, you might want to turn to HCG mixing kits instead. They provide all the supplies you need and can be tailored to your specific diet plan. However, mixing on your own isn’t as complicated as it might seem.

It’s important to consider the risks that each step can present and, more importantly, to consult with a medical professional before getting started.

Reach out if you’re interested in getting started. We have all of the HCG Supplies you will need to get started.

A Quick Guide on How to Mix HCG

A Quick Guide on How to Mix HCG

Weight gain sneaks up on even the best of us, especially as we get older. One year, you can eat anything you want without gaining a pound. The next year, if you so much as think about eating a pie, you gain five pounds.

This weight gain leads to the inevitable struggle for weight loss. Many people, however, find that nothing seems to work for them. Diets, exercise routines, and supplements seem to leave them disappointed each time.

If that describes you, there may be a solution. Learning how to mix HCG for weight loss can “game the system” for your body. So, learn how to mix your HCG solution in the guide below!

How to Mix HCG (5,000 IU Vial): Start Disinfecting

To begin mixing your HCG, there are a few things you’ll need. First, you’ll need your HCG powder. From there, you’ll need HCG mixing syringes, an HCG Storage vial, and a vial of bacteriostatic water.

Once you have all of these, you can proceed to mix your HCG solution. First, tear out the inner seal from your HCG vial. Once you’ve done so, wipe off the top with an alcohol swab.

Next, move on to the bac-water vial. Once again, remove the cap and wipe its top with an alcohol swab. These alcohol wipes help clean the vials and disinfect them.

Beginning the Mixture

The first step in this process disinfected the vials with alcohol. Now that you can verify the vials are clean, you can begin the mixing process.

Use your mixing syringe, turn your bottle of water upside down. Wait for a second as the water filters towards the cap, then insert your syringe. Draw out the prescribed amount of water advised by your doctor.

For now, we’ll work with the standard amount, which is five milliliters of water. Once you reach 5 ml, remove the syringe from the water bottle.

Next, insert your needle into the vial of HCG powder. Note, only do this if you’ve performed the alcohol swab wipe first.

Once you insert the needle, slowly inject your bacteriostatic water into the powder. After you’ve added the amount of water needed to dissolve the powder, you’ll move on to the next step.

Mixing the Solution

After adding the bacteriostatic water to your HCG vial, gently swirl the vial. Continue swirling the vial until you see the solution become clear. Whatever you do, never shake the solution.

HCG is a delicate hormone. If you shake the solution, you could thin the hormone too much and lose its effects.

When you have a clear HCG solution, remove all leftover solution from the original HCG vial or ampule and inject it into the storage vial. Next, place your mixed HCG in the refrigerator after its reconstitution. It should be good for up to 28 days while you take your daily HCG injections.

Beginning Your HCG for Weight Loss Diet

By following these steps for how to mix HCG, you can ensure you have a safe HCG solution. Now you have your doctor-approved HCG mixture and you can begin your diet.

The HCG diet uses your body’s hormones and chemicals to your advantage to cause weight loss. To get the most out of our offers and plans, check out our discounts and coupons today! And when you are ready to order more supplies, this is where to get your HCGSupplies.

Bacteriostatic Water and its Use in HCG

Bacteriostatic Water Vials

What is Bacteriostatic Water?

Chances are if you are about to begin your journey with the HCG Diet Protocol you may be wondering what bacteriostatic water is, and why it is important to incorporate it into the HCG hormone delivery.

Simply put, bacteriostatic water is water specially cleaned or filtered for the purpose of medical use. Completely sterile, it contains 0.9% Benzyl alcohol designed to prevent the formation of microbes developing in what is basically a carrier solution for the administration of the injectable hormone, HCG.

It goes without saying that injecting any substance using contaminated water solution will lead to major medical problems. Purchasing your bacteriostatic water from a reputable online source, equipped with updated information, such as HCG Supplies will ensure you are injecting a clean solution.

What Does it Look Like?

Typically arriving in a flip-top plastic vial, bacteriostatic water is not pressurized. With a typical shelf life around 1 year to 18 months unopened; it should be immediately refrigerated after opening, with the remainder discarded after 28 days.

Can I Use Sterile Water instead of Bacteriostatic Water for HCG?

While sterile water can be great for some things, bacteriostatic water is the most recommended means with which to transport the hormone into your system. Sterile water is for mixing a single dose to be injected all at once, since it has no bacteriostatic properties. Bacteriostatic water can be used to mix a multi-dose mixture to be used for up to 28 days.

Safety First

Most likely, you will be administering your HCG hormone shots at home in a nonclinical environment. Sterile water, while on the surface, should suffice; it is only sterile until a foreign micro-organism is introduced into the solution.

In plain terms, we cannot see micro-organisms with the naked eye. The cat dander, the dust mites in the bedroom from dog hair. That sneezed into tissue your six-year-old left on the kitchen table. All the daily activities and incidentals that we don’t even think about that take place at home, would never take place in a doctor’s office.

So, at home, sterile water is subjected to too much risk of contamination. Bacteriostatic water, however, containing benzyl alcohol makes for a better choice, especially for use at home when using a mixture intended for multiple injections.

Bacteriostatic Water Close Up

Cleaned and sterilized, any microrganisms are removed from the water, rendering it sterile. At this point, the 0.9% blending of benzyl alcohol is introduced, Thus completely sanitizing the water and protecting it from the growth of bacteria.

Administering the Bacteriostatic Water:

With an alcohol pad, wipe the rubber stopper on the empty mixing vial, the HCG medication vial, and the Bacteriostatic Water vial. Check to make certain any use-by dates are still good on both the HCG and the Bacteriostatic Water.

If in any doubt, DO NOT USE!

Next, slowly draw back the plunger on the mixing syringe until the volume of air drawn into the mixing syringe rises to the volume of water to be withdrawn from the Bacteriostatic Water vial.

Inserting the mixing needle into the top of the Bacteriostatic Water vial, introduce the air from the mixing syringe into the Bacteriostatic Water vial. Finally, withdraw the mixing needle from the Bacteriostatic Water vial.

Next, with the empty mixing vial, insert the mixing needle, you can now withdraw the amount of equivalent air to the measure of Bacteriostatic Water you wish to infuse into the empty mixing vial. This may sound complicated at first, however, the experience will teach you what the correct amounts look like. Additionally, you should also check out further how-to information available on your HCG Supplies website.

Now you are ready to withdraw the mixing needle from the empty mixing vial. Both vials should now be pressurized and arranged to exchange the liquids more effectively.

Preparing for the Injection

Utilizing the mixing syringe, insert the mixing needle into the Bacteriostatic Water vial and withdraw the intended volume of Bacteriostatic Water. Withdraw the mixing needle.

Insert the mixing needle into the HCG medication vial. Infuse a limited quantity of Bacteriostatic Water to reconstitute the powdered HCG. It doesn’t make a difference precisely the amount Bacteriostatic Water that you infuse here – 0.5 ml is fine. The powder dissolve right away.

Invert the HCG medication vial and withdraw every drop of liquid into the syringe. In order to recover the majority of HCG hormone into the syringe, make sure the tip of the needle is practically even with the rubber stopper. Withdraw the mixing needle.

Insert the mixing needle into the vacant mixing vial and infuse the majority of the liquid into the unfilled mixing vial. Withdraw the mixing needle. Presently your solution is blended for injections.

Discard all waste in an appropriate waste repository, notably a receptacle suitable for sharps, or needles. Keep away from all pets and children. Do not reuse needles. Discard the Bacteriostatic Water and the blended solution around 28 days later.

Each time you do an injection, make a point to clean the top of the mixing vial and the injection site with an alcohol pad. Utilizing another injection syringe each time you inject will help maintain a sterile and safe injection.

Draw back the plunger on your injection syringe until the volume of air approaches the volume of the solution you intend to inject. Insert the needle into the mixing vial and inject the air into the mixing vial. Invert the mixing vial and withdraw the volume of solution that you intend to inject. Withdraw the needle from the mixing vial. Hold the needle pointing upward and tap on the syringe barrel until any air bubbles have ascended to the top of the syringe. Push on the plunger to oust all air from the syringe. At this point, you are prepared to inject.

Again, discard all waste in the appropriate container, preferably one suitable to house sharps.

Performing this procedure correctly and in the most sanitary way possible is important for the success of the HCG Diet Protocol. Speaking with your primary care physician, you may be able to arrange daily visits to your doctor for the injections to be professionally administered. Alternatively, if you feel comfortable performing the injections yourself, you may do so. Making sure, instructions are meticulously followed can help you achieve a successful outcome.

The Skinny on HCG Side Effects

HCG stands for Human Chorionic Gonadotropin. HCG helps to utilize the nutrients in the fat stores of our bodies. In this way nourishment is provided on demand whenever needed.

How it Works

Basically, HCG dieters follow a seriously high caloric feast the first two or 3 days of the HCG diet. This is the fun part. If you have been following these blogs, you know you can eat just about anything at all.

Total fun fest.

Pizza, burgers, hot dogs, potato chips, you name it.
It can be right there on the table.

No holds barred.

Then, things get serious.

Following the loading phase, during the next 3 weeks your caloric intake is a strict 500 calories per day.

Foods rich in sugar and starch must be avoided. Remember, simple starches contain sugar; or rather they convert to sugar. A fresh baked baguette, for example even topped with salad remains off limits.

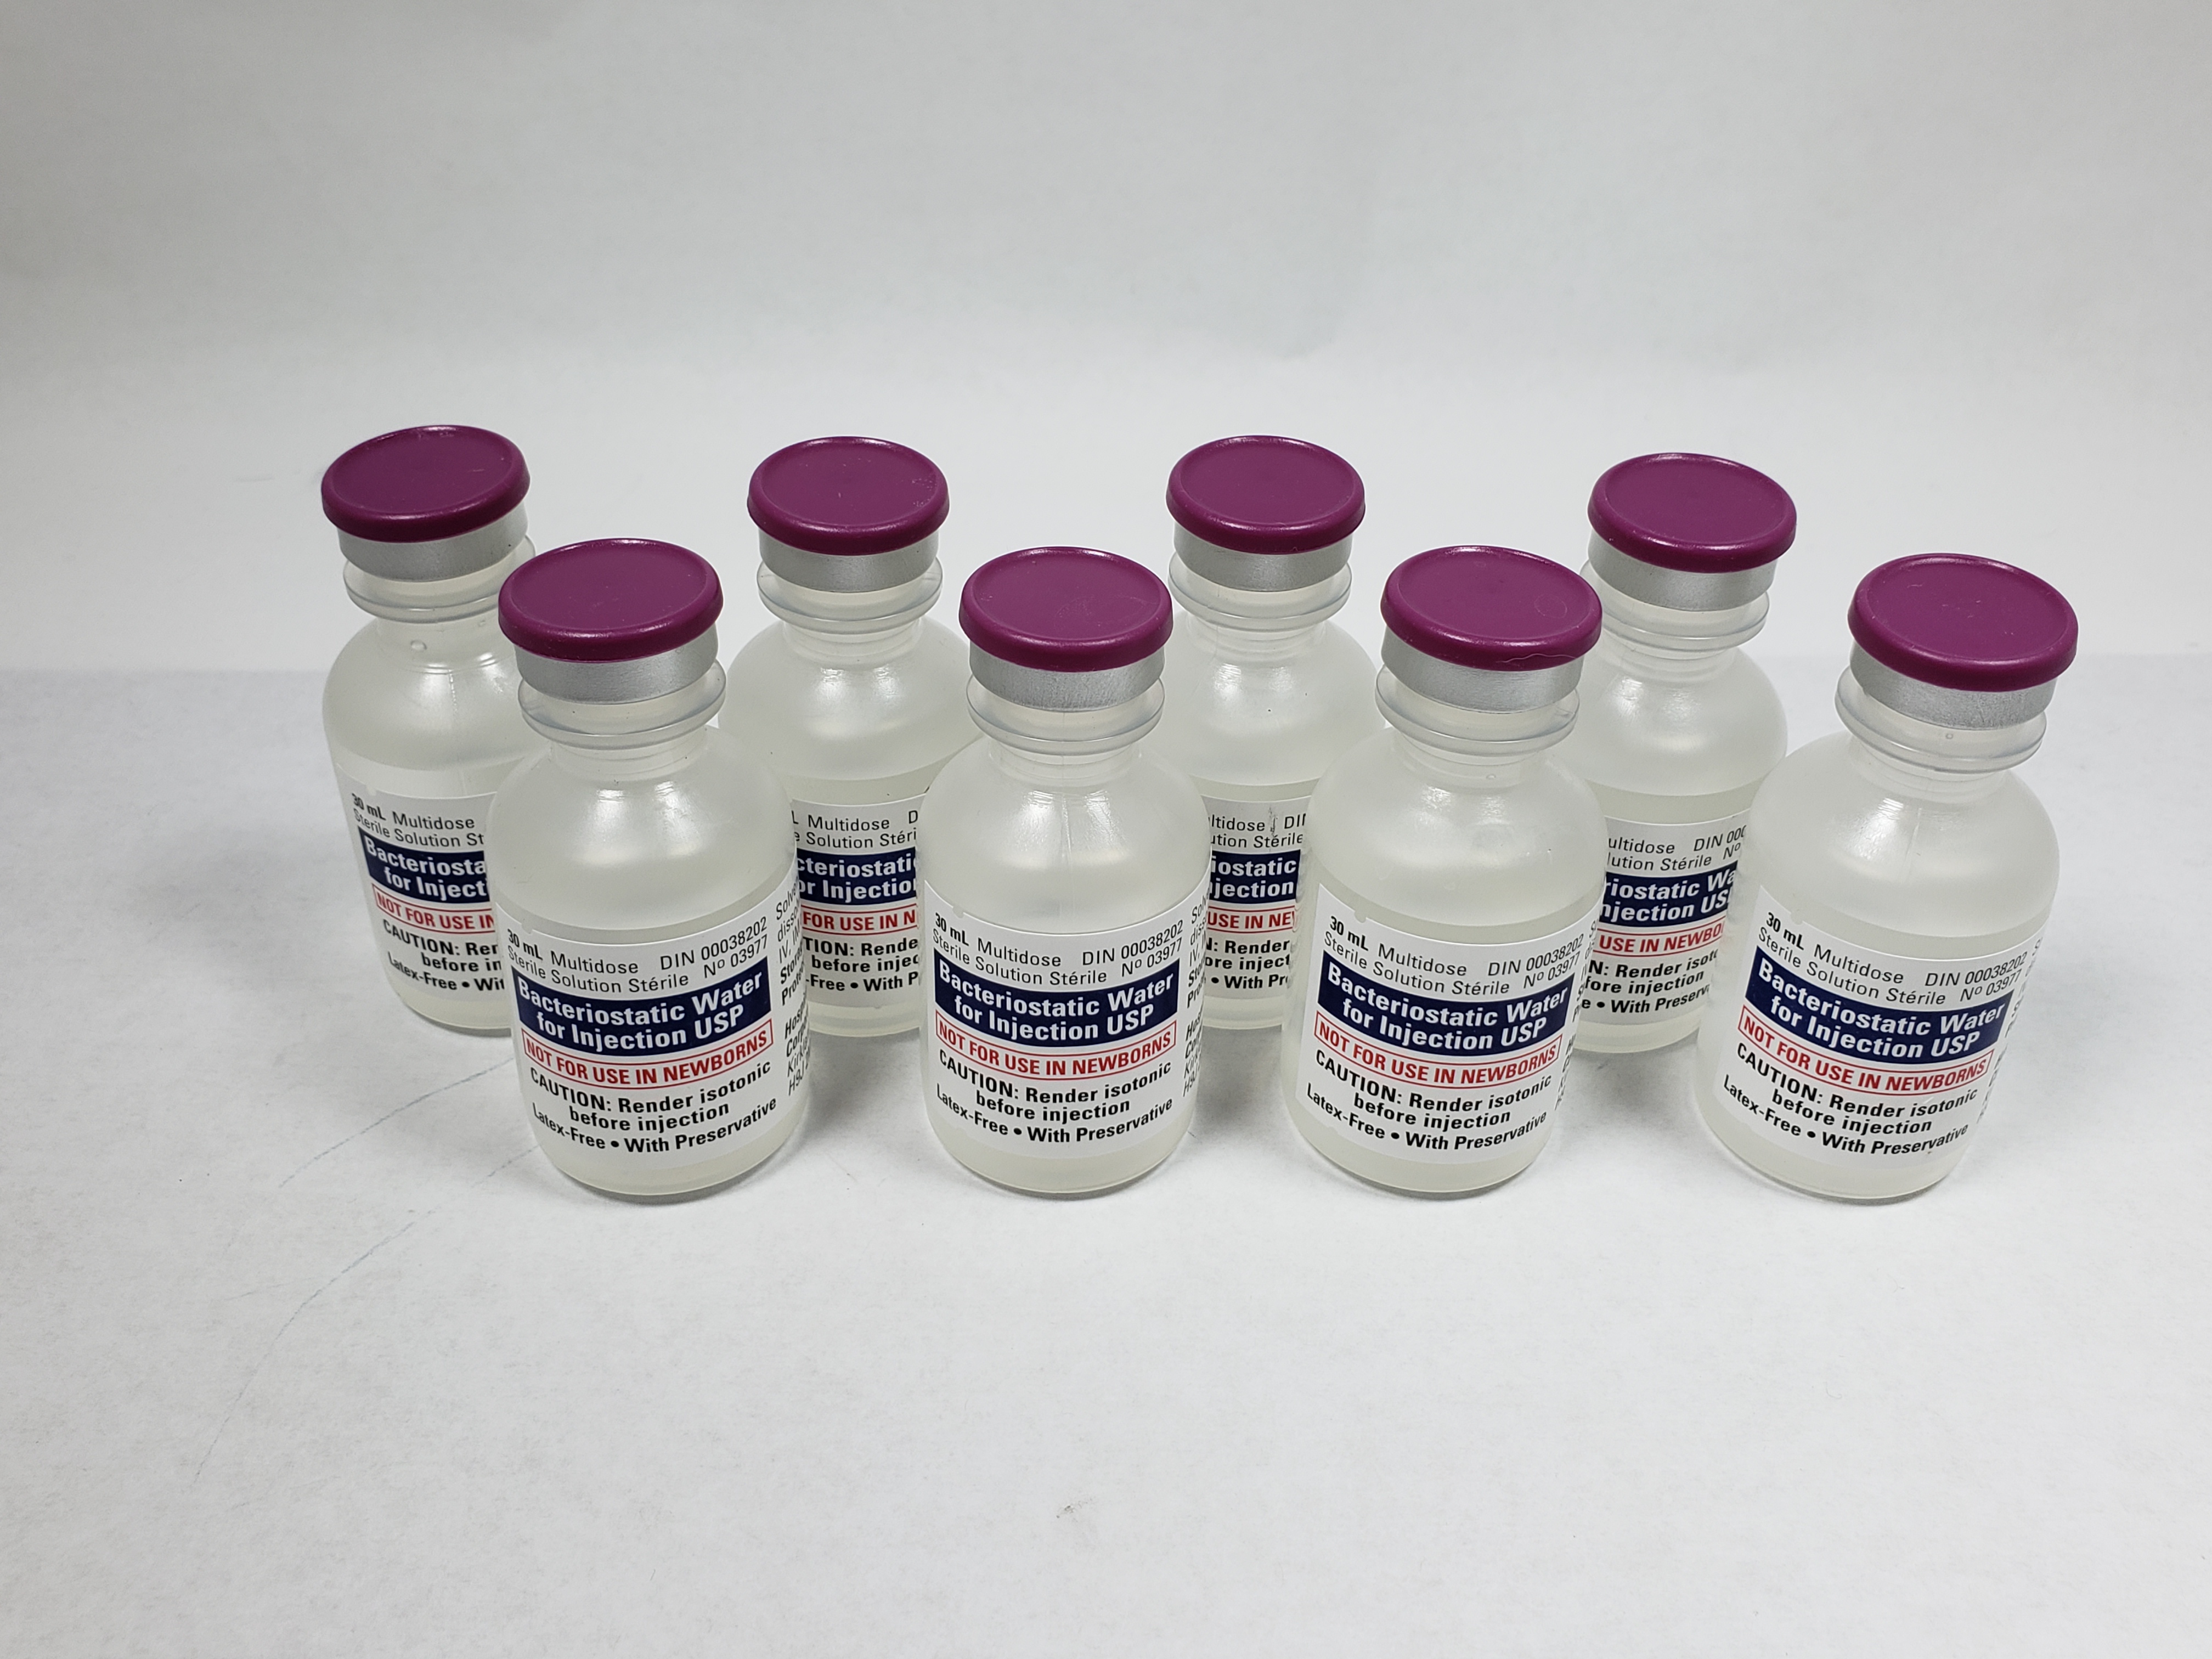
During this phase you must take the HCG injections. HCG supplies will provide you with everything you need to administer the HCG hormone (purchased separately).

A Stabilization phase or Phase 3 reintroduces some of the foods cut from your diet in Phase 2.

During this phase you may discover some foods enjoyed before such as bread, pizza, dairy; you’re now sensitive to. Feelings of sluggishness and general moodiness may indicate that a reintroduced food or its ingredients are no longer right for your body.

Remember, you have essentially detoxed your body from additives including sugars, artificial sweeteners, preservatives, MSG, and simple starches.

Phase 4 is the phase where you will eat for life. So in other words, your new diet is now your lifestyle. During phase 3 you should have realized what foods work for you now and which do not.
But what if any are the side effects?

Preparation is Key

There is no denying that this weight loss program has worked wonders for many who have reported weight loss of between 15, 20 and even 30lbs during the three-week weight loss phase.

The use of HCG hormone is meant to maintain muscle mass and properly redistribute the body fat during the weight loss phase. HCG may also help to prevent loose and sagging skin from dieting. This is the benefit of the HCG hormone. Without the hormone, dieters may lose muscle mass in addition to fat, resulting in rapid weight gain after the program ends, even with a continued modified diet.

Muscle burns fat, so maintaining muscle increases the likelihood of maintaining weight loss after the program ends. This is particularly true with dieters following healthy food choices and continuing workout programs afterwards. Weight training is great because the anaerobic activity continues to boost metabolism after the workout has ended.

Cynics argue that weight loss has more to do with the calorie restriction and nothing to do with the HCG hormone. Those in favor of the founder, Doctor Simeons’ Protocol, argue the results and the benefit of the HCG program were suppressed by mainstream diet companies and researchers from around the 1970’s onwards. They suggest that today it is presented as an unconventional and new diet when in fact it has been around for over 60 years.

Clearly, there will be food cravings. It seems we are programmed to crave something we can no longer have. Tell a child not to eat the cookies before dinner, and you can bet from that moment, all the child thinks about is eating cookies before dinner even if they hadn’t thought about cookies all day!

This is not to suggest that you shouldn’t modify a busy routine. Nobody is suggesting your usual 3 hours a week Zumba. In fact, it is discouraged. What is recommended is gentle exercise. Additionally, nobody suggests tackling this diet while pregnant, or planning to become pregnant. Common sense should always win out.

Nutritional Deficiencies?

The misconception with HCG diet plan is nutritional deficiency. There are plenty of meal plans available. In fact, HCG Supplies offers a free download to help you with your diet plan.

The HCG diet even allows you to eat steak, shrimp, even lobster. What it does not allow you to do is to eat the entire cow, the entire lobster and an entire catch of shrimp.

So sure, if you’re used to loading your plate at every single meal, you may experience some hunger. Remember, for the health of your life, you are trying to retrain your brain to smaller portions, and a healthy approach to eating.

The HCG diet allows you to eat fruit and vegetables, even a few small crackers. The 500 calories are spread throughout the day with the injections taken at the same time each day. You are encouraged to drink plenty of water. You are also able to drink black coffee and unsweetened black tea.

Swinging Moods

Mood swings are another concern with critics of the HCG diet. But think of it this way. You are removing excess sugars and additives from your system. This may include alcohol, preservatives, and MSG. That can come as a shock to a body used to consuming those things regularly.

Some of those food and drink choices may have been a habit; they may even have been addictive.

Sugar, for example can be very addictive.

Think about that 2:00pm chocolate fix. Prior to starting the diet, you may not normally have eaten lunch, but you would have an afternoon chocolate bar. That is your habit. You don’t think of it as an addiction but, if you are dependent on it to get through the afternoon….

The same goes for the 5:00 o’clock wine and spirits when you arrive home after a crazy day at work. These routines become habits, potentially altering the brain chemistry.

Psychologically, if your attitude on the HCG diet is one of deprivation then our mood is going to bottom out even more. Attitude can really be everything.
Your HCG diet brain is rebelling. It is doing absolutely everything possible in order to survive.

We are hardwired to not like change. It keeps us safe. It keeps us warm. It maintains everything we know and trust.

It’s called survival.

So even though we want to eat healthy, even though we know we want to lose weight, even though our brain says, yes let’s do this, behind our back, it does everything it can to sabotage our efforts. Hence the mood swing as we reach for a treat that is no longer there.

Understanding the psychology can help us get through those moments. It’s not necessarily a bad thing, so long as you know why it’s there.
Remember, you are removing toxins and bad habits from the body.

Now, a disclaimer. If you have a history of depression, anxiety, or any other medical condition, consult with your doctor before embarking on this or any diet.

At the end of the day, where the real side effect is weight loss, and a healthy approach to nutrition and portion control, what is there to lose? The answer is pounds and inches.

Do You Know How to Mix HCG?

Once hydrated, most HCG looses its potency in about 30-45 days, so the more control you have over that “clock,” the better.

So you’re best option is to mix your own HCG. But don’t worry! It’s not has hard as it sounds. BASICALLY, it’s a three-step process:

1. Hydrate the HCG.

2. Put the hydrated HCG into a clean, empty glass vial.

3. Add enough mixing solvent to get the mixture to the right strength for dosing.

Of course, there’s a little more to it than that. But we do have complete mixing instructions on our webiste: www.hcgsupplies.com. Just click on “Mixing Instructions” for complete details.

For accurate information on how to mix HCG correctly, please visit our website or download the free PDF here:

Free HCG Mixing Directions